SHTFPreparedness may collect a share of sales or other compensation from the links on this page.
Small amounts of alcohol can boost your mood and decrease stress, which is something you’ll need for SHTF events.
Preppers also have many uses for vodka, so having an easy, reliable way to make it can ease your mind.
Let’s jump right into our potato vodka recipe.
Benefits of Potato Vodka for Preppers
A good potato vodka recipe is something that every prepper should know. Alcohol has a lot of value in emergencies.
Here’s why potato vodka is great to have when SHTF:
- It’s easy to make.
- Potatoes are usually readily available.
- It has a long shelf life.
- You can use vodka as a disinfectant, solvent, and fuel.
- Vodka is an excellent bartering tool for other resources.
- Vodka is enjoyable when you drink it responsibly, helping to ease your mind during stressful times.
Potato vodka is valuable in any preparedness strategy for these benefits. Preppers are resourceful, so you’re sure to discover even more ways to use it.
What You’ll Need For Potato Vodka Recipe

You’ll need these tools to make your potato vodka:
- A heat source with accurate temperature controls
- Long stirring utensils
- Cooking thermometers
- A good hydrometer
- A large mash pot
- A potato masher
- A keg
- Cheesecloths
- Mason jars
- pH reader
- A still
And you’ll need these ingredients:
- 25 pounds of potatoes
- Five pounds of malted barley
- Seven gallons of clean, iron-free water
- Sugar
- Brewing yeast
- Siphon
- Citric acid
Directions
Before jumping into the potato vodka recipe, it’s important to know the laws and regulations in your area. It’s illegal to make vodka in many states without proper licenses because it could result in harm.
Always be careful when it comes to homemade alcohol. If you’re unsure, it’s better to throw it out.
How To Make Potato Vodka

1. Clean and Cut the Potatoes
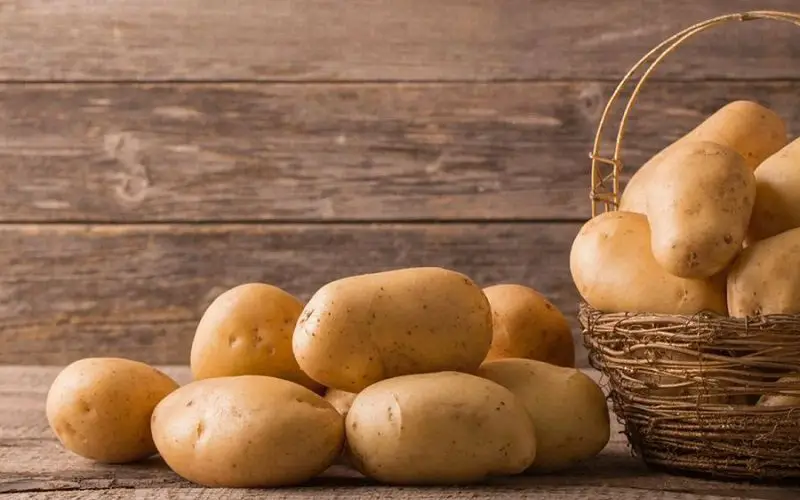
First, take all of your potatoes and clean them well. You should rinse and scrub them to remove as much dirt as possible.
Dice the potatoes into small, one-inch cubes.
Plenty of preppers love growing their potatoes. We recommend using these strategies so you can have potatoes whenever you need them, even when SHTF:
- Build a potato box.
- Keep your potatoes good for longer.
- Grow potatoes for longer seasons.
2. Boil and Mash the Potatoes
Bring a large pot of iron-free water to a boil. Add the potatoes and let them boil for 20 minutes.
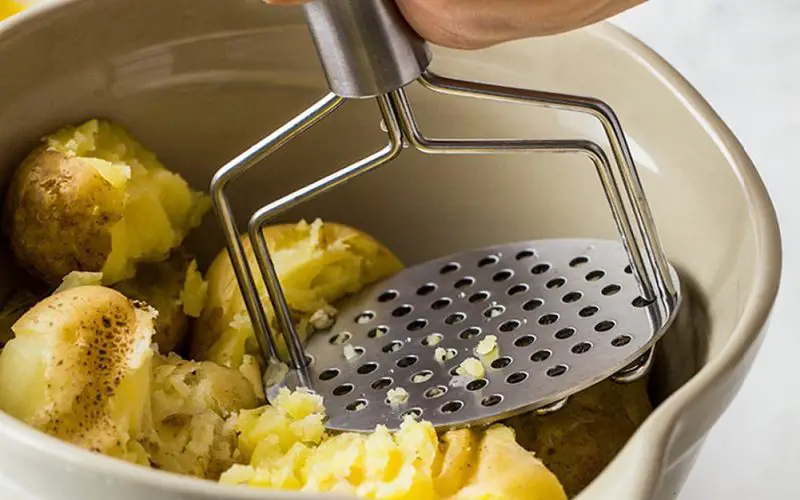
They should be soft and easy to mash with your potato masher.
3. Combine the Potatoes and Barley Malt
Pour the potatoes into the large mash pot and mix in your barley malt.
Stir until the mixture is fully combined.
4. Let It Cook
Bring the mixture to 140°F, checking with your cooking thermometer. You want it to stay at that temperature for the next 20 minutes. Stir the potato mixture often while it cooks.
Next, heat the mash to 152°F and keep it there for an hour. Make sure to check on it and stir it every ten minutes.
5. Use the Hydrometer

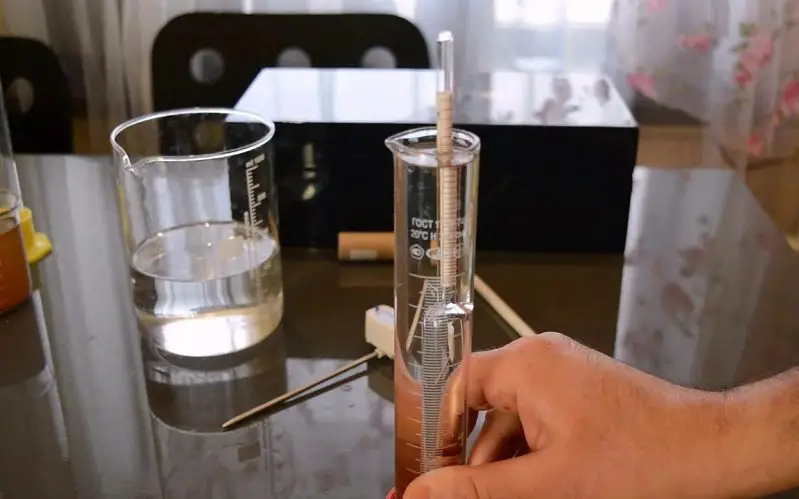
Your hydrometer reads the density of the liquid, allowing you to determine its ABV. Adding sugar can raise the ABV.
Take your first reading with the hydrometer. You want the potato vodka mix to be precisely 1.065.
If it’s too low, add a tiny amount of sugar and stir, then retake the reading. You shouldn’t go above 1.065, so take your time ensuring it’s right.
6. Let the Mash Rest
Next, you need to let the mash rest overnight. Doing so allows the yeast to begin changing the starches into more sugar.
It should drop to about 70 degrees before you try working with it again.
7. Activate the Yeast
Follow the instructions that came with the yeast to activate it. Generally, you’ll need to add a certain amount of sugar to warm water.
Allow the yeast to activate in a clean mason jar.
8. Strain the Liquid
Use your cheesecloth to strain the liquid from your potato mash.
You only need the liquid in the keg. Stir it to help aerate the liquid.
9. Add in the Yeast Starter
After the yeast has had time to activate, pour it into the liquid and stir it. Seal the keg with an airlock and allow the liquid to ferment.
Now, you’ll want it to sit for about one to two weeks.
10. Look for Signs of Fermenting Finishing
You must check on how the starch is fermenting. It can let you know if the mash needs to sit for longer.
Start by removing a small amount of the liquid from your keg. Use the hydrometer to check the ABV.
If you have iodine at home, you can also use that. Add a few drops to the mash liquid. It still needs to ferment for a few days if it reacts with processing starches by turning blue.
You can also tell that it’s fermented enough if the airlock stops bubbling. This effect shows that the yeast used all of the sugar, converting it into alcohol.
Once it’s ready, you can remove the liquid, strain it to remove any lingering solid potato chunks, and move on to distilling.
11. Distill the Liquid

Start by sanitizing the still and checking that all parts are in place and working. Add the mash and run the still according to its instructions, which can vary per product.
The first part that comes out during distilling is called the foreshot, and it’s very harmful to humans.
Throw it away immediately, and do not drink it because it can be lethal. Even smelling it could potentially hurt you.
The following third of the distilled liquid is called the heads. It’s too strong and has a pungent odor, so you’ll also want to dispose of it.
The following part of the vodka is the heart, which is what you want to keep.
The final bit of liquid that comes out is the tail. You can run it through the still again to make more vodka.
Wrap-Up
In short, that’s how you can make potato vodka. Many preppers love having alcohol in their survival plans.
It has many purposes in emergencies, and potatoes are usually easy to come by, especially if you grow your own.
