Survival isn’t just about staying alive and getting through difficult or unexpected situations. It is also about being prepared for absolutely anything and learning to utilize the resources around you, in order to get by.
The future can hold many things, and all sorts of situations could come about. From ending up stranded out in the wild, to national emergencies and dystopian situations, and all sorts of natural disasters and problems.
This is why it is important to be prepared, even if it is a minimal way, and one of the methods of ensuring as such is to have a small survival kit with some essential tools.
Of course, you’re not always going to have the essential tools of survival on you, which is why it is also important to learn to make do and to improvise with what you do have.
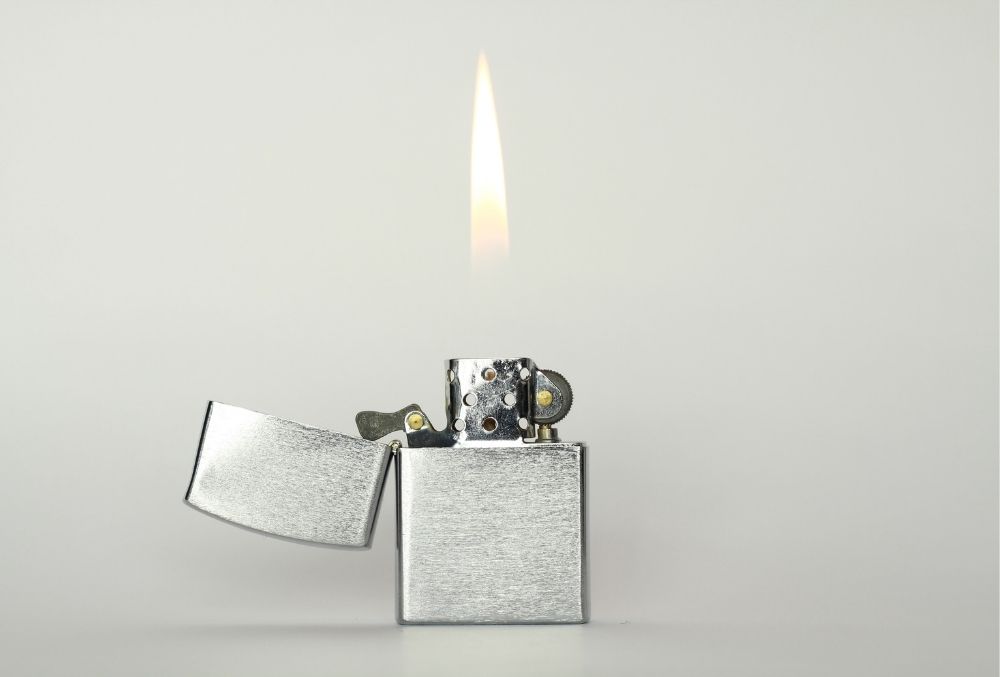
Now, one of the most important things to have access to, in almost any survival or an emergency situation, is fire. And to create fire, the best tool to have is a lighter.
But what if you don’t have a lighter? Well, then you can create one! In fact, we’re going to show you how to create a lighter by using two simple common items, in a fast DIY method. Let’s get right into it!
How To Make A Lighter

If you are in an emergency situation, and find that you need to light a fire, but do not have a lighter, you might be able to make your own. If you are at home, it is likely that you will have the necessary materials in order to create a functional lighter, as they are pretty common items.
You will need a battery and some foil. That’s it! If you have those two items you are able to make your own lighter so that you are able to create fire when needed.
Once you have both the battery and the foil, you are ready to get started on creating your own lighter.
The first step is to cut the foil to the right size and shape. You should only need a few inches of length, and the most important thing is that you cut the foil so that the middle part is thinner, and both ends are thicker.
(This is because you will be attaching the ends of the foil to the negative and positive poles of the battery, but let’s not get ahead of ourselves).
Make sure you take into account the size of the battery when cutting the foil, as they are going to be paired together to create the lighter.
Once the foil is cut to the right shape and size, you are going to want to shape it into an arch. The middle part of the foil should be the apex, and it is where the positive and negative electrical currents will clash, coming from both sides.
Once your foil is ready, it’s time to attach it to the battery. You want to press both sides of the foil down on both ends of the battery so that one side is receiving the positive electrical current, and the other is receiving the negative electrical current.
And as the current is able to travel through the foil, these currents will travel up the sides of the foil, and meet in the middle, creating heat.
Some people will hold the foil to the battery with their hands, pressing down.
However, it takes about a minute or so for a flame to spark, and in this time the foil is going to heat up, and eventually could burn your hands. So it is best if you find something to hold the foil pressed against the battery.
After a minute or so, the foil will be heated up enough that a small flame should appear in the middle of the foil, and you can use this to light a candle, or start a proper fire. Whatever you need it for, really!
And that is really it. It’s incredibly simple, and only takes a few minutes, and it is almost guaranteed that you will be able to create a small flame of fire, to be used to light other things on fire.
Almost all homes have some foil paper in the kitchen, and you can find batteries easily, by taking them from a battery-powered device such as a remote control for the TV!
Why Is Fire So Important To Survival?

Once you are able to create your own emergency lighter, you have access to fire, and this puts you in a good position, survival-wise. But why is fire so important to survival? Why is it one of the most important resources to have access to?
There are actually many reasons why fire is important and helpful:
- It provides light. Whether it is nighttime, or you are in the dark. Fire is a source of light that will allow you to see your surrounding area.
- It provides heat. Whether it is a cold night or the winter season, fire will help keep you warm so that you don’t freeze!
- It allows you to cook food! Without food, you eventually starve, and out in the wild, there aren’t that many things that you can eat raw without risking an awful lot. With fire, you can cook food, plus you can also boil water to make it safe for drinking!
- It offers protection. Out in the wild, you might have to fend off predators and dangerous animals, and fire is one of the best things to use to scare these off and remain safe.
Final Thoughts
Fire is one of the most important resources when it comes to survival, as it keeps you warm, provides light, allows you to cook, and can fend off dangerous animals.
But how do you start a fire without a lighter? By creating your own DIY lighter! If you are at home, you are bound to have some foil paper and a battery, and that is all you need to create a small flame!