Gardens are a lifeline in times of plenty and in times of emergency. Cultivating a garden is one of the best skills for any prepared person to acquire.
A vital part of those skills is taking care of your garden tools. Clean, sharp tools will last longer, as well as be more efficient and accurate.
Not only will it save you money in the long run, but proper tool maintenance will also result in a more prosperous garden. Here’s how to clean garden tools properly.

How to Clean Garden Tools Properly
1. Basic gardening tool cleaning
Gardening tools should be cleaned after each use to prevent soil from trapping moisture and rusting any steel.
Additionally, removing soil from tools will keep them sharper in the long term and make them easier to use in your flower or vegetable garden.
Any tool that gets soil on it should be sprayed down with the hose at maximum pressure. Stubborn soil or clay can be removed with a hard bristle or wire brush. To prevent rust, make sure to dry the tools thoroughly with a rag after each spray-down.
Tools that don’t come in contact with soil also need to be cleaned after each use. Most of them can just be wiped down with a clean cloth to remove any residue.
Tools used on pitch- and sap-producing plants, such as saws and pruners, can be cleaned with a little paint thinner or turpentine applied to a rag.
2. Disinfecting garden tools to keep disease at bay
Disinfecting certain tools is as important to the health of your garden as washing your hands is to your health. When pruning diseased trees, digging the garden beds, or weeding out pests, it is especially important to disinfect.
Tools with residue or soil on them can spread parasites, fungi, insect eggs, and microbial diseases throughout the garden.
The University of Florida horticulture department suggests several methods to prevent this scenario.
After hosing or wiping off the tool, most tools can be sprayed or dipped in the disinfectant. Large or uneven tools should be soaked for up to a half-hour.
Household disinfectants such as pine oil are not corrosive, but might not be fully effective against all pathogens.
A diluted bleach mixture of one-part bleach to nine parts water is more effective, though it can be corrosive. The easiest method is a wipe of isopropyl or ethanol alcohol—a fast, effective way to sanitize.
After sanitizing your tools, wipe them with a clean cloth to make sure none of the disinfectant remains on the tools before you use them again.
3. Protecting against rust

Even after a good cleaning, high-quality steel may be vulnerable to rust, especially in humid climates. Use a protective oil seal to prevent rust from forming.
The seal should be created by rubbing the oil in with a rag or spraying it on. The oil should form a thin coat on the blade and will not harm the soil.
One of the most effective ways to seal your tools is motor oil. Some people recycle old oil from mowers to make this method even more cost-effective.
Others chose to thin a quart of motor oil out with a pint of kerosene, making a 2:1 mixture that is thinner and adheres to porous material better. Vegetable oil can be an alternative.
4. Cleaning rusted tools

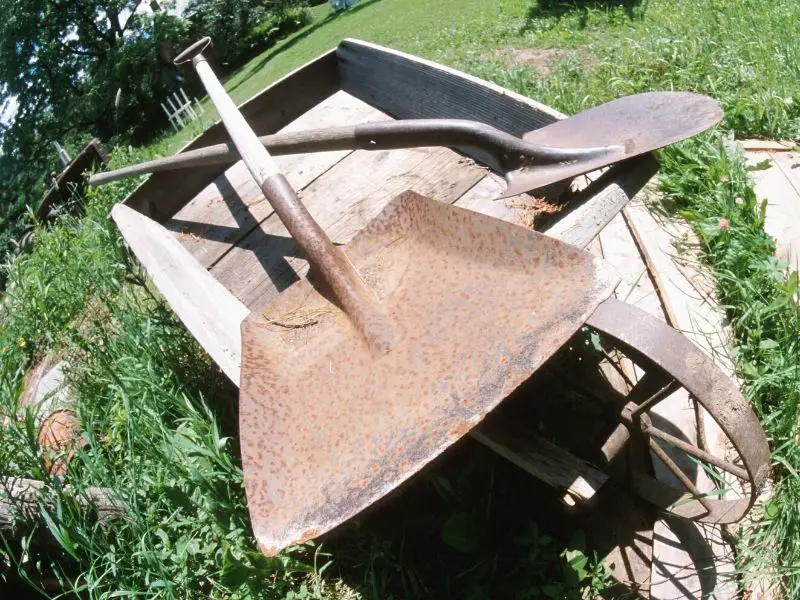
While prevention is the best medicine, some tools can fall through the cracks and rust anyway. When this happens, it’s important to deal with the rust as soon as possible, before it builds up.
For minor spots, scrubbing with wax paper can lift the rust. Hand tools can be soaked in strong black tea for a few hours and the rust will wipe right off.
Similarly, other gardeners soak their tools in diluted vinegar, coca-cola, or a lemon juice and salt mixture. The acid in these soaks loosens the rust, making it easier to wipe off with a cloth or steel wool.
Tougher rust can be dealt with using 80-grit sandpaper or a wire bristle brush. If the rust is built up and the surface of the tool is pitted, an electric drill with a wire brush attachment is the best method.
After removing the rust, you might want to use sandpaper to smooth the surface out.
Make sure to wear safety glasses when using any wire brush and apply a coat of oil after removing rust to stop oxidation right away.
5. Cleaning garden tools for winter storage
When preparing your garden for winter, tools should be at the top of your list. Give your tools a thorough clean with water and a wire brush, making sure to remove any rust.
Then, apply the protective coat of oil to the blades. Use linseed oil on the handles to prevent them from cracking over the winter.
If garden hoses are left connected over winter, they may burst. Disconnect all sprinkler systems and hoses, then drain any water before coiling them for storage.
The next step is effective storage. During the growing season, it’s important to keep tools upright and dry.
Hanging them in a shed or keeping them on a rack is the most effective way. Over the winter, it is especially important that the handles aren’t resting on soil or cement, as this can lead to rot.
Another way to store tools for winter is in a sand and oil mixture. Fill a pot or bucket with sand, then mix in the oil that you use to prevent rust: motor oil, WD-40, or vegetable oil.
The sand should be moist. Then, plunge all metal-bladed tools into the mixture and store it in a cool, dry place.
In the spring, wipe the tools down with a coarse cloth or piece of burlap. Keep the mixture around for an easy way to apply a protective oil coat or for cleaning off stubborn soil.
Final Thoughts
It is well worth the time to commit to a short cleaning routine after each time in the garden.
Learning how to clean garden tools will keep them sharper and extend their lives, while also ensuring the health of your garden.
Protect your investment with regular maintenance; your garden will definitely thank you.
