Could you build a winter survival shelter if you found yourself in a life-or-death situation out in a remote, freezing-cold forest?
In a winter survival situation, building a shelter has to be a top priority to reduce your exposure to the frigid air, wind, snow, sleet, rain, or other elements.
Even when wearing warm winter clothing, hypothermia can take over within mere minutes of exposure to these elements.
This illustrates the urgency of knowing how to build an effective shelter out of natural resources and with few tools at your disposal.
In this guide, we’ll discuss the primary factors to consider when building a snow shelter, the top four most effective snow shelters to make, and tips on how to make a winter shelter.
Factors to Consider When Choosing a Snow Shelter
Before we dive into the best winter survival shelters to build, here are the primary factors to keep in mind when choosing which shelter you should make depending on your situation:
Location
One of the most critical winter survival skills is to be strategic about your shelter’s location.
Select somewhere deep in the trees and further down a hill so you’re less exposed to the elements, preferably near a natural source of water, and make sure the opening to your shelter does not face the wind.
Never build your shelter on the top or side of a hill; the already cold air will become even worse from the high winds.
Size
Contrary to what many people may think, smaller-sized shelters are vastly preferable when it comes to winter survival.
That’s because the larger your shelter, the less your body heat will warm the interior. Your body should just be able to fit inside the shelter, with the walls fitting fairly snug around you.
Insulation
Make sure there is plenty of separation between you and the cold ground or snow (gathering pine boughs for a floor is a good idea for this reason), and always place leaves or dirt (if you can gather any) in between the various holes.
Place as many pine boughs as you can over the walls and roof of your shelter as well.
Simply gathering more resources and materials to use in this manner will go a long way toward increasing the internal temperature of your shelter by just a few degrees.
This makes a small but critical difference concerning whether or not you’ll get a good night’s sleep or stay up all night shivering.
Best Survival Shelters for Winter
Here are the best snow shelters to build during a winter survival situation:
Lean-To/A-Frame
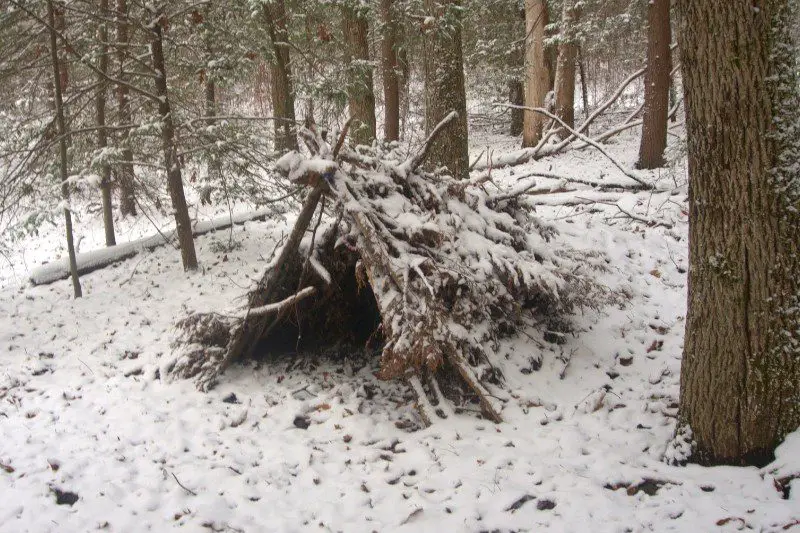
The lean-to is one of the simplest kinds of shelters to make. It is primitive, and admittedly not the warmest, but it can keep you protected in cold environments.
Simply find two trees roughly six feet apart from one another and place a pole horizontally in between them (lash with your shoelaces, string, rope, vine, spare T-shirts, or whatever you have).
Place more sticks and poles on one side (against the wind), and create bedding on the ground to ensure you are kept above the cold ground. Add more insulation to the walls as you see fit.
Build a fire on the open end, and if you have an emergency space blanket on hand, it can reflect the heat back to you.
The A-frame is simply a lean-to with both walls enclosed. In a winter survival situation, the A-frame is definitely preferable.
Quinzhee
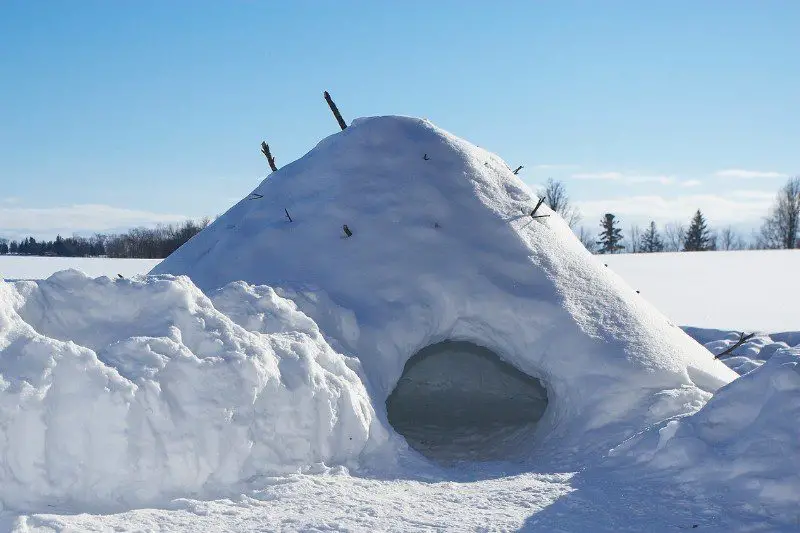
The quinzhee is a more complicated shelter to build, and it requires practice. But when it’s successfully built, it can be one of the warmest survival shelters in the snow you’ll ever have.
Start by piling up your gear (such as your pack) underneath a tarp or blanket. Then, pile snow over your gear. Pack the snow down so it is at least two feet thick in all parts.
Gather five or six-foot-long sticks and insert them around your dome, spaced equally apart.
Now excavate the snow until you reach the gear. From there, excavate more upwards until you reach the bottom of each stick. As a result, there will be uniform thickness across the dome.
Add a ventilation hole, and you’re all set.
Snow Cave Shelter
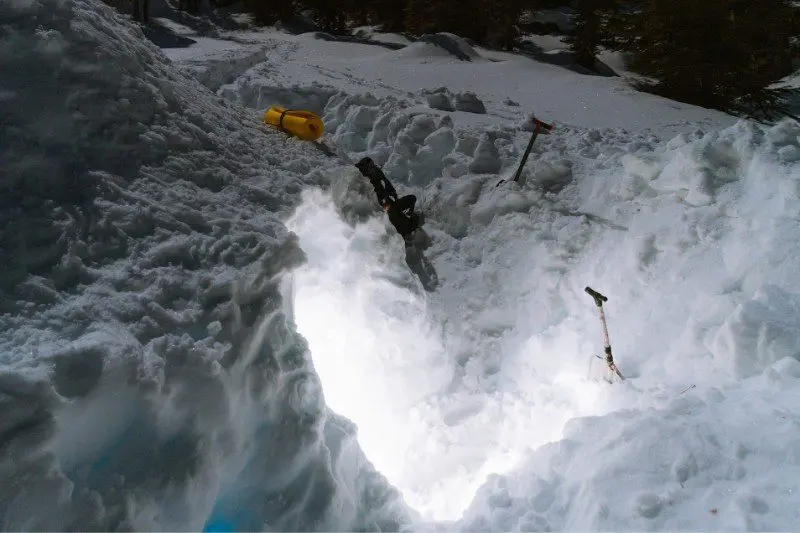
A snow cave can be quick to build, but it can also be dangerous. You run the risk of becoming buried alive.
Locate a snowdrift or bank, and then dig down into it to create a pit. Continue to dig into the embankment, around six feet deep and three feet wide or so, for you to sleep. Create a ventilation hole as well.
The idea is that the cold air will collect in the pit near the entrance, ensuring the tunnel is warmer for you. You can further block the entrance with your backpack as well.
Tree Well
This is another fast shelter that you can make in areas of deep snow. Simply find a naturally occurring tree well, and dig underneath the boughs near the center of the bottom of the tree.
This will create a natural pit, with the boughs serving as your roof and the packed snow serving as your walls.
How to Make a Winter Survival Shelter
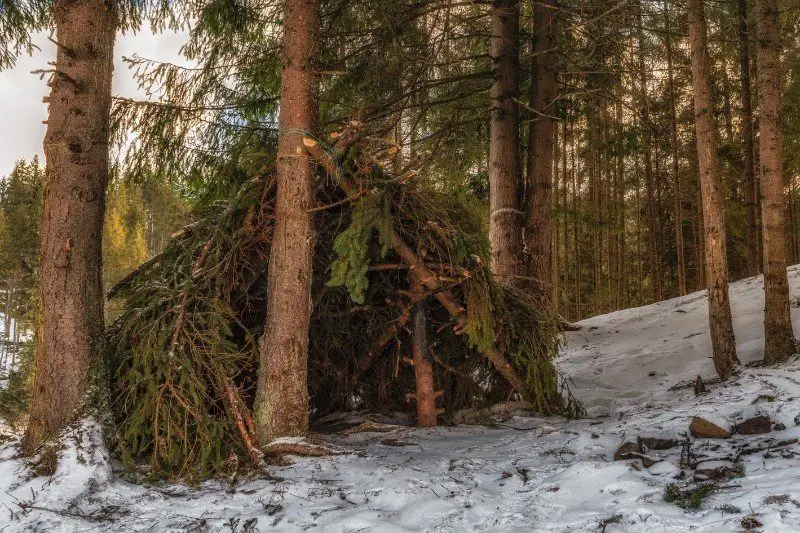
Building any of the above shelters we’ve covered will involve a few critical steps, regardless of which structure you build.
Start Early
It can take several hours (and lots of your very limited energy) to build and gather the resources for a shelter. Plan to begin building mid-afternoon at the absolute latest, so keep track of time.
Take things slowly as well. You don’t want to expend your energy quickly by frantically trying to complete the shelter in a limited amount of time. Take your time, and take breaks to rest.
Don’t Face the Wind
The wall of your shelter should always face the wind to deflect it from your body.
If you build a lean-to, for instance, the open side of the shelter should be facing away from the wind. The entrance should, ideally, face the wind at a 90-degree angle.
Start With the Ground
Remember, the smaller and more snug your shelter, the warmer it will be. Create the bedding for your shelter first, make sure it’s large enough to fit you, and then build around it.
Gather Plenty of Pine Boughs
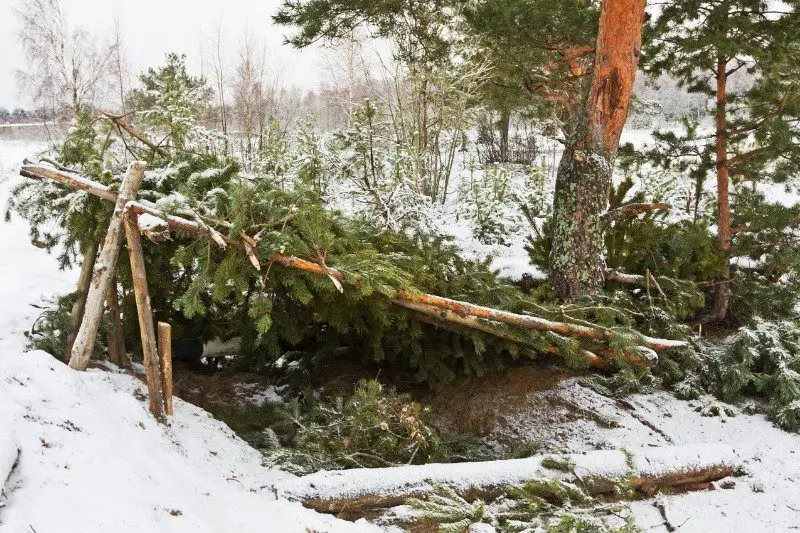
Here’s an essential but overlooked guideline when it comes to winter survival: gather as many pine boughs as you can.
If you come across a wooded area with lots of pine trees, cut down as many boughs as you can and carry or drag them with you.
Use these pine boughs for bedding and insulation on the walls and roof. This holds true for virtually any kind of winter shelter you decide to build.
If you can’t find pine boughs, find anything else that you can use as insulation, such as dirt or as many sticks as you can collect.
Conclusion
As one final piece of advice, be sure to practice building shelters as much as you can. You never want a true life-or-death situation to be the first time you build a shelter.
With this in mind, select two of the shelters we have gone over and build each of them at least once in the woods using the natural resources at your disposal.
Ultimately, a properly built shelter is far from the only thing you can do to stay warm in a winter survival situation, but it will go a long way to keeping you protected from the cold.
