Many of the log cabins that you see today have been built from log cabin kits. They are mostly uniform in shape and quite generic.
However, something very special occurs when you build a log cabin using trees that have been chosen, peeled, and raised by your own two hands.
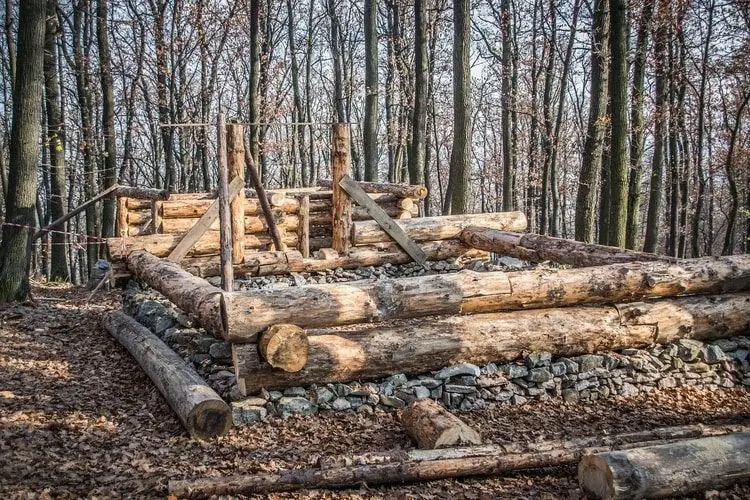
Building a log cabin home from scratch can be very rewarding. If done properly, it can last for generations to come. A log cabin is the ultimate off grid build.
Most people think that building a log cabin is well outside their expertise and capabilities. But if you’ve done enough research, it’s well within your reach.
If the pioneers could do it with next to no tools, then you can too!
Selecting the Logs
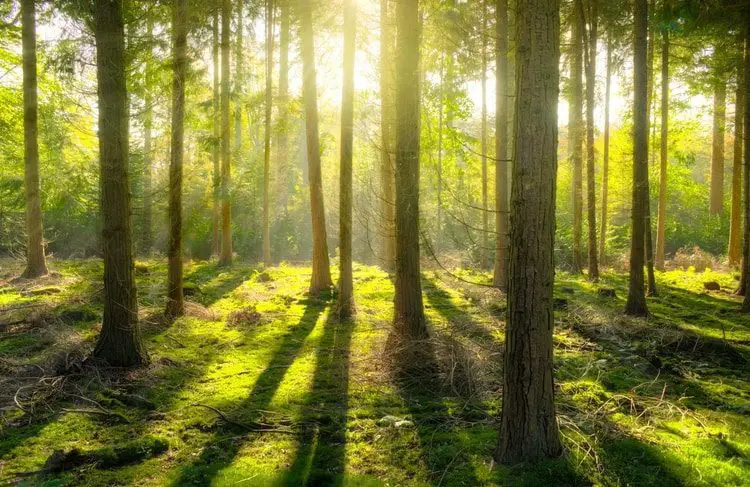
The first step towards building a cabin from scratch is to select and prepare the logs ready to use.
If you own your own piece of land, you might be limited to the type of species that you can choose. But if you’re in the fortunate position of being able to source logs from somewhere else, you can choose the best species for the build.
Best Tree Species
The most common trees used to build log cabin kits throughout the US are Pine, Cedar, Cypress, Spruce, and Fir.
Trees that are grown at a higher altitude have denser wood which is better for building with.
Size
When you choose which trees to use, you’ll need to make sure that they are:
- Straight,
- Tall, and
- Wide
The height of the trees will depend on how large you want your cabin to be. Try to find trees that are long enough to be used as one side of your cabin. Then, add an extra four to eight feet.
For example, if your cabin is going to be 20×20 feet, you’ll need to find trees a minimum of 24 feet tall.
For the width of the tree, you’ll need logs that are a minimum of ten inches in girth. Choose trees that taper as little as possible. They should be an even width all the way through. The maximum difference in girth between the base and the tip of the log should be around 2 inches.
Avoid any trees which have any obvious damage to them or trees which aren’t straight. You should also avoid dead standing trees.
How Many Trees to Build a Log Cabin?
It takes roughly 70 logs to build a 20×20 log cabin but remember this doesn’t mean you need 70 trees.
The average pine tree grows to between 50 and 100 feet, so you should get around two logs per tree.
How to Fell and Store the Logs
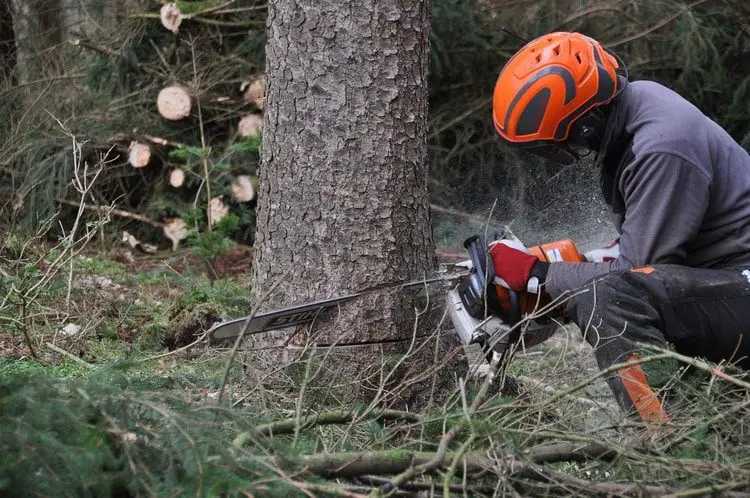
Cut logs during early winter when sap levels will be at their lowest. This will reduce the chances of the logs splitting because they have a longer time to dry out over the winter and spring.
Felling the Logs Safely
Always make sure you’re wearing protective equipment including; a helmet, safety glasses, leg protection, and steel toe cap boots. Other equipment you’ll need includes a chainsaw, an ax, and a wedge.
Once you’ve selected the tree which you intend to cut, you’ll need to make sure there is a clear path for it to fall into.
To cut the tree, make a small cut (around 2 inches) into the base of the tree on the side that you want your tree to fall. You’ll then need to make a second cut just above the first, at a 45-degree cut downwards to meet the initial cut.
You can then make the last cut on the opposite side of the tree, just above the first one. If the tree doesn’t naturally start to fall, you can drive a wedge into the third cut.
Storing and Drying the Logs
Logs need to be thoroughly dried before you can build with them, to prevent any cracking, warping, or checking.
To do this, you’ll first need to debark them using a drawknife. You can then cut the trees to size and store them.
To store the logs, make sure they are raised off the ground, and that there is good airflow between each of the logs.
You can use small pieces of wood between each layer to allow plenty of circulation space.
If the logs will be left outside, make sure they are covered. This process can take a minimum of six months, the longer you can leave them for, the better!
Choosing the Cabin Location
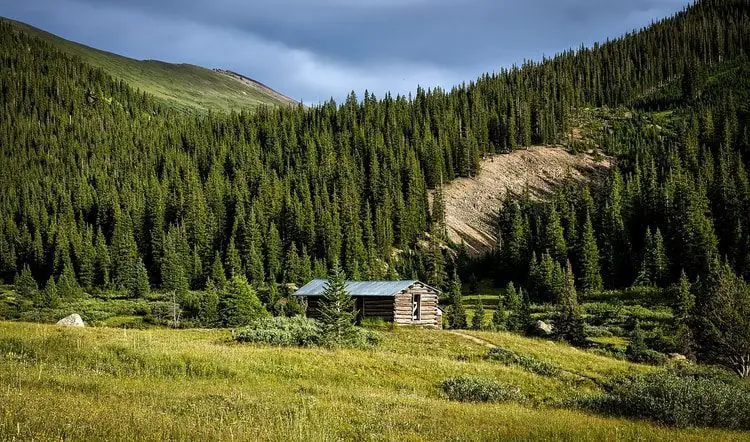
Choosing where to locate your log cabin is one of the most important aspects of the build. You’ll need to consider things such as the direction of the sun, whether there is a local water source, flat ground, gradients, and surrounding trees.
Ideally, you need the land to be as flat as possible, and most of the windows will be south-facing in a cold climate, and north-facing in a warmer climate.
Once you’ve chosen your location, you’ll need to lay a solid foundation. The most popular choice is a strip foundation, which involves digging a trench around the perimeter of where the cabin will sit and filling it with concrete.
Raising the Logs
To begin the building process, you need to choose four of the longest, widest and straightest logs, to act as your sill and sleeper logs.
The sill logs are the first two which are laid, and the sleeper logs are the second. Keep another three of your best logs for the roof.
The bottom of the first sill and sleeper logs will need to sit flat against the concrete, so they will need to be hewed, or half-logged.
Once the first two sill logs are laid, notch the sleeper logs on the underside so that they sit perfectly on top of the sill logs.
To raise the log walls there are several methods you can use but the most popular two methods are butt and pass, and saddle notch.
Saddle notching requires more skill but will produce a more solid and durable cabin.
You’ll need to notch one log at a time and scribe it to the log below to ensure a perfect fit. You can do this using a chainsaw, or a chisel and hand tools.
Rotate the logs on each layer, between the thickest and thinnest ends to ensure the walls stay level.
Keep stacking the logs until you reach the height that you want for your cabin.
If you want to use the butt and pass method, you won’t need to notch, but instead use short pieces of rebar to attach each log to the log underneath, this requires strength over skill!
Door and Windows
Creating openings for windows and doors is simple. You can do this process while you are raising the log walls.
When you reach the height of the top of the window or door, make a vertical cut downwards using a chainsaw. Ideally, you want to start and finish on a full log rather than cutting slightly into them.
Remove the logs in the gap you’ve created and add at least another three logs to the height of the walls to ensure structural integrity.
You can then install your window and door frames, followed by the windows and door.
How to Add the Roof
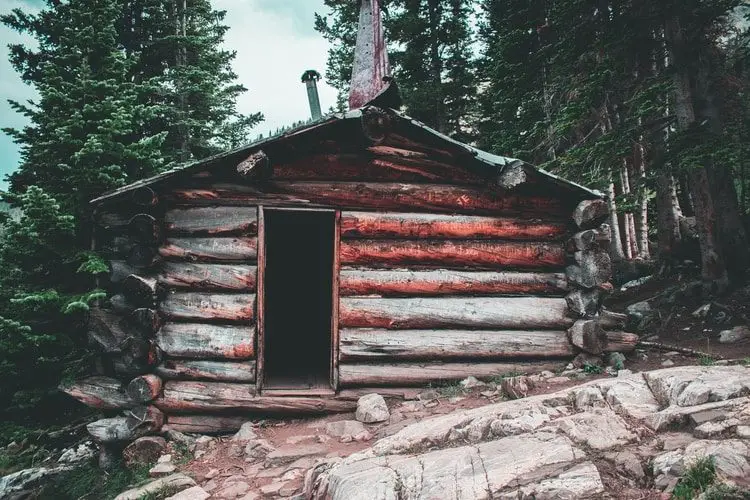
Adding the roof to the cabin is the most strenuous part of the build. This will require plenty of manpower or the use of machinery.
You should have saved three of your best logs for this part of the build, and they can be heavy to lift!
Continue to raise the logs on two opposite sides of the cabin to create the gable walls. The logs will get shorter each time to eventually create a triangular shape.
When you are halfway up the two gable walls, fit the two purlin logs to connect the two gable walls, and then continue to raise the last of the gable walls.
The last log to fix is the ridge log, which sits right at the top and in the middle of the gable wall. This is the log that you will attach the rafters to. Notch the rafters to the purlin and ridge logs, and then add plywood boards to the rafters.
You can finish the roof with whatever material you choose. For example, wooden shingles, a metal sheet, or roofing felt.
Finishing the Cabin
Now you’ll need to stain the cabin to protect it, using an oil-based stain. Repeat this process after approximately two years.
Most cabins will need chinking, which involves adding a flexible sealant to each of the log joins. This helps to further insulate the cabin and prevent any leaks.
Outlast Q8 Log Oil 5 Gallon Pail Natural Base Sashco Log Jam Acrylic Latex Chinking Caulk, 5 Gallon Pail, Buff (Pack of 1)
You can either use a synthetically made chinking such as Permachink or Log Jam. Alternatively, you can make homemade chinking by mixing one part cement, with half part masonry line and three parts masonry sand.
Use a trowel to apply a thin layer horizontally between each of the log layers and fill in any cracks in the logs which are larger than half an inch.
And there you have it! Your very own log cabin built from trees. A hand-built cabin will last for hundreds of years and can be enjoyed by generations to come.


