Many firearm owners started by target shooting with air rifles or pellet guns and eventually began hunting small game like squirrels and grouse with a .22 LR or a 410.
Over the years, our approach to firearm use evolved, and at some point, we recognized our God-given right to defend ourselves and our families with a firearm if necessary.
At least, that’s how my story played out. Those foundational elements of marksmanship we learned with the air rifle are helpful, but there is more to consider in a self-defense scenario than shooting a bullseye in a stress-free environment.
According to FBI crime statistics and studies produced over the past 20 years, even trained police officers involved in gun fights rarely display hit rates higher than 50%. That’s right, over half of their rounds miss.
Let’s just be honest: can you shoot a pistol better than a police officer?
The point is, if we want a slight chance of using our defensive pistol with even a moderate level of effectiveness, we need to use our brain before we use our gun.
We also need to know our limitations in order to begin to move beyond them, which means we need to find them first.
Understanding the Fundamentals

The road to better marksmanship always passes through a specific set of skills.
So before we move along too quickly and pass over details that have a very real impact on our ability to accurately place our shots, it would seem prudent to make mention of the fundamentals. Perhaps you’ve heard the term “fundamentals” of marksmanship.
The fundamentals of shooting are your stance, grip, sight alignment, sight picture, trigger control, breathing, and follow-through.
All of these have an impact on our ability to make hits with any consistency. As a result, they are all important to work on and strive to maintain or improve.
We will touch on some of those concepts as we explore skill-building options, keeping in mind the importance of their application. Being purposeful about incorporating one or more of these elements will help you get the most out of your range time.
Pistol Shooting Tips and Tools
With our limitations in mind, there are endless methods, tools, and gizmos that we and many others have found to be extremely helpful.
By no means will we be exploring all of those here. The shooting world is far too large and ever-growing to fit into a medium like this, but we’ll touch on a few of the greats.
1. Target Selection
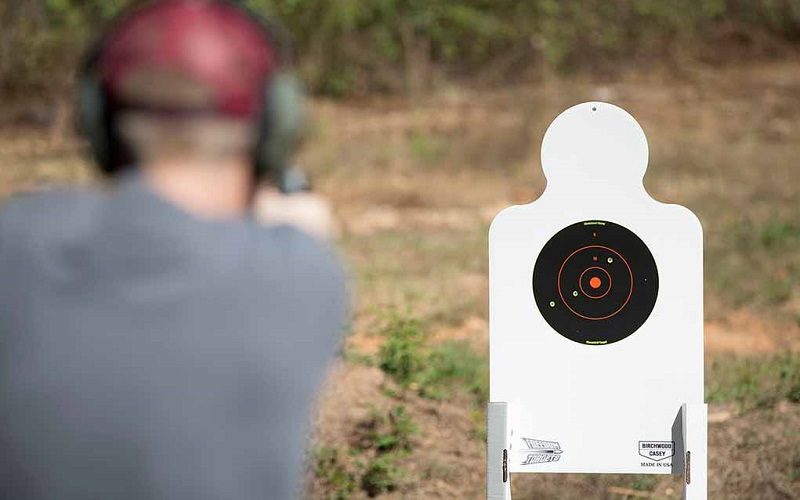
Believe it or not, target selection can make a big difference in building accuracy, skill, and confidence as we advance through the process of building the skills necessary to best defend ourselves in the worst-case scenario.
Our first experience shooting a pistol was with a friend of mine who had just bought a handgun for self-defense. He usually filled up a few empty gallons of milk with water, set them out at around 50 yards, and we would start popping them away.
Having grown up shooting rifles and shotguns and having no sense of the fundamentals of shooting a pistol, we remember being completely shocked by how inaccurate the pistol was.
Though that 50-yard shot wasn’t really practical with a pistol, in reality, we were the weak link in the equation because the firearm was quite capable of performing much better than we were.
After a couple of magazines, we’d pop a hole in one of the gallons. If we were lucky, it would only drain halfway, and then we would continue.
Though the gallon jugs provided us with some feedback and relayed our hits back to us, after a maximum of 3–4 hits, they became no more useful than a paper target in providing almost no feedback when we made strikes.
2. Paper Targets
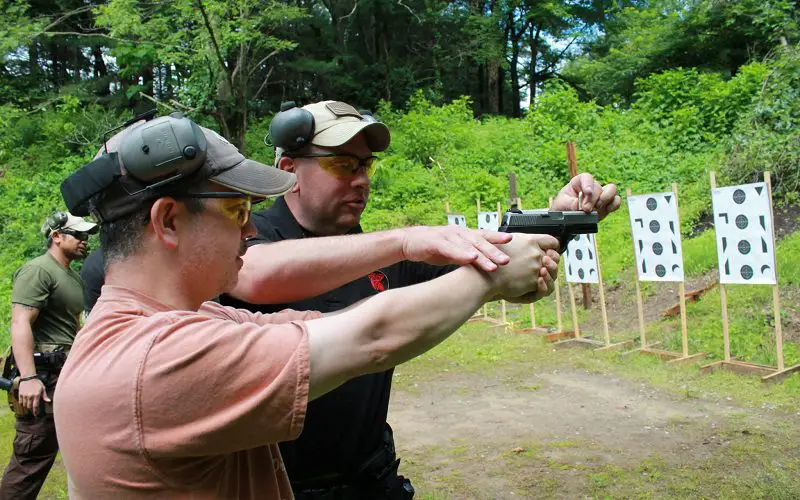
Paper punching is beneficial, particularly at close ranges where you can see the holes that you’re knocking in the paper. This is due to the fact that real-world self-defense scenarios play out at very close range, usually less than 10 yards.
That being said, large sheets of cardboard with small targets pasted on them are great when placed within visual range. The importance of that close placement is again due to the need for feedback from your target.
A paper target at 25–30 yards doesn’t tell you jack until you can walk up and see it, and then you have no data regarding which shot landed where and in what sequence. So in self-defense shooting for training purposes, paper is a close-range and useful tool.
I’ll often hang a big sheet of cardboard and spray paint 25–30 small circles in a grid pattern. We used a scrap of 1 inch PVC tube to stencil the grid pattern of circles across the cardboard, and we stood back about 3–5 yards so we could see our hits.
There are a number of approaches to how to best use this setup, but we usually try to shoot to a rhythm at a particular circle with 4-5 rounds, then move on to the next. Shooting to a rhythm or beat is something I’ll expand on later.
All the fundamentals come into play, but trigger control is my primary focus here. I’m looking to press the trigger and really develop a sense for exactly when the trigger will break and send my shot down range.
And after the shot, we’re holding the trigger to the rear still and releasing the trigger while attempting to always feel the trigger reset.
This minimizes movement of my trigger finger and develops muscle memory to prevent slapping the trigger to snap off shots that will lack the accuracy hopefully seen on our range target.
Instead, maintaining constant contact with the trigger will give us much better control and confidence that we can send an accurate round downrange at the exact instant we intend to do so.
3. Rhythmic Shooting
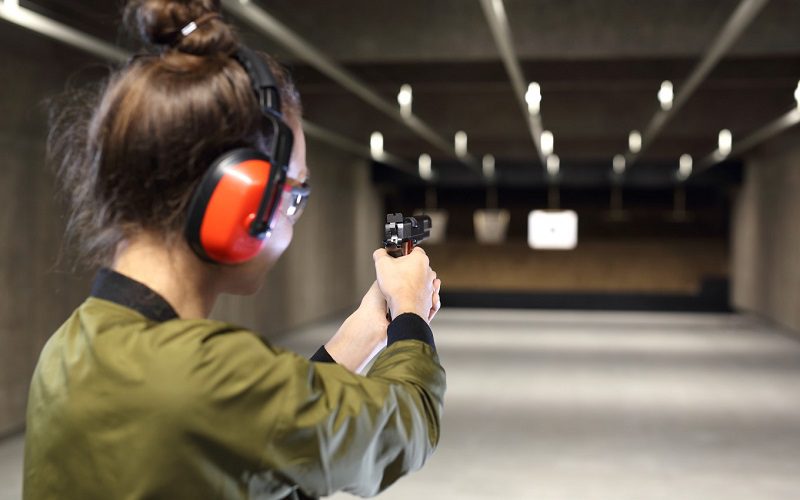
Now, get back to rhythmic shooting. In this context, a smart phone, which is a ubiquitous gadget in today’s world, can also be beneficial. Specifically, a smart phone that comes with a free metronome app is particularly beneficial.
The idea here is to put your ear buds under your hearing protection earmuffs and set the metronome to a beats-per-minute setting that you can accurately shoot to while matching the rhythm.
Sixty beats per minute will have you pressing off a round every second, but there’s no set standard to start at.
This is about finding a comfortable rhythm that you can maintain for relatively accurate shots, then slowing and increasing the beats per minute until your group starts to open up.
Then work on that rhythm until it again becomes comfortable and accurate, and then repeat. Get yourself a good mag-loader and some extra magazines, and shoot as much as you can.
This does take time and practice, and it will push our skills beyond their current status. It has proven very beneficial to utilize it while practicing the fundamentals.
4. Steel Targets
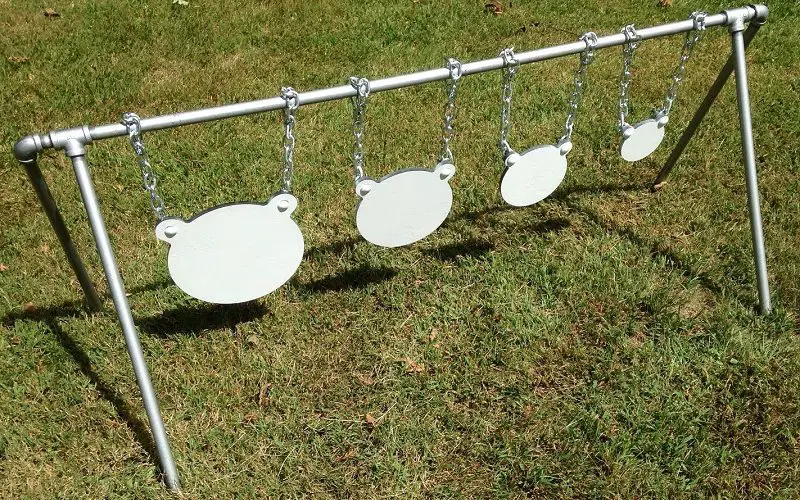
Steel targets are another tremendously beneficial range tool. We can’t emphasize enough that you absolutely must know how close the manufacturer recommends you shoot their particular steel. Some are 10 yards minimum, and others stretch that out a bit.
It’s important to understand that certain hardness scales guide the manufacturing and grading of steel. For example, AR500 steel is suitable for some rifle-caliber projectiles at greater than 100 yards.
Other softer grades of steel are actually very dangerous to shoot with rifles due to the dangers of fragmenting steel or ricochet.
- FULLBOW steel target are made of 3/8 Inch thickness AR500...
- Included 4,6 and 8 Inches AR500 Steel Targets for Each, 6...
- EMT Conduit NOT INCLUDED. When you buy conduit, you'll need...
For our discussion, however, we will only be shooting our steel targets with pistol calibers. I’ll just say outright: steel targets can be dangerous if not used properly, so follow manufacturer recommendations. They also completely changed my shooting abilities.
When translated over to steel shooting, the feedback ew mentioned in regard to paper targets is instantaneous, whereas paper targets at a distance require that you stop shooting to go look.
The loud pang and slap of the lead ball round disintegrating off the steel produce a tremendously fun side effect of shooting steel. If you actually hit the target, it becomes the equivalent of your target shouting “HIT.”
The real plus is that you will quickly discover just how fast you can shoot and make hits. In other words, the cadence at which you can press the trigger and consistently drive them where it counts becomes hard to miss. Pun intended.
Manufacturers make these steel targets in all sorts of shapes and sizes. We especially appreciate silhouettes, resembling a human torso and head, as they offer a clear understanding of the placement of shots in a self-defense situation.
Smaller-sized circular steel with 6–8-inch diameters is also helpful in squeezing group sizes down. When combined with smaller targets, imposing time constraints can intensify the sense of urgency and stress, necessitating our utmost preparation.
That additional layer of stress is an excellent way to inject a small taste of reality. It is a small taste of what would be a very stressful situation in a self-defense scenario.
In safe increments, we must develop the ability to cope with stress while also incorporating it into our shooting techniques. This leads us to a new range of beneficial gadgets.
5. Shot Timers
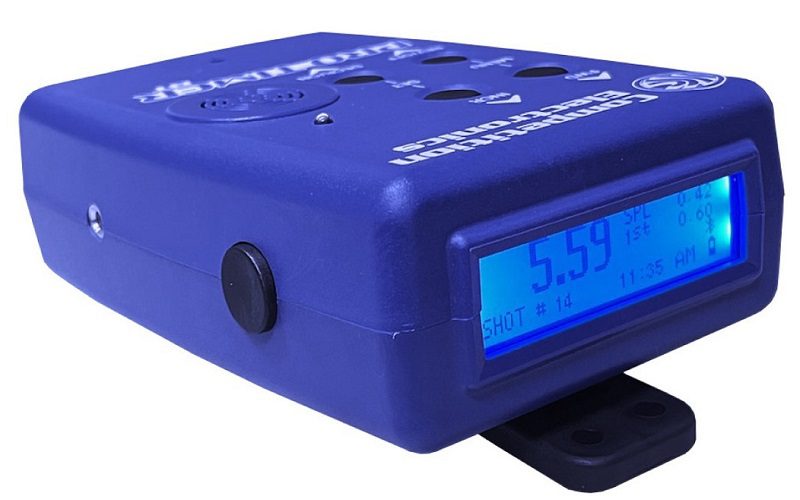
Shot timers are also helpful on the range when we intend to shave time off the clock and add that layer of stress and urgency we need to be able to work with.
Whether it’s timing a failure drill or just how long it takes to get a few quick shots down range from the draw, shot timers have very real benefits.
Most timers allow for the setting of a randomized starting tone, which is usually a loud beep, and from there the clock starts counting while recording at what time each shot is fired while also recording the split times between shots.
So while shooting a particular drill, the clock pushes us to finish quicker, but it also tells us how long it took us to draw and get the first shot downrange.
- Bluetooth capability with a free mobile app for Apple,...
- Bright LED indicator to signal the start, which can be...
- Headset jack, for a private practice session, when the...
Obviously, quicker is better, but don’t forget that a missed shot accomplishes nothing good. In fact, a missed shot will only waste time and, consequently, accomplish something bad.
When planning a drill, it’s to your advantage to have penalties established for misses. Maybe 2 seconds per missed shot. That way, it doesn’t become all about speed while forgetting the importance of making the shot count.
These are some great ideas and concepts to start working into your routine. These have greatly improved my pistol proficiency, and they continue to do so. Remember that safe shooting is the foundation of all training concepts.
Wrap-Up
Finding our limitations can’t compromise our ability to use our firearms safely.
Next time you’re on the range, try some of the techniques and work toward improving your shooting skills. Make the most of your time and investment.
Enjoy yourself and shoot safely.

