Food storage and food preservation are critical to a lifestyle of preparedness and self-sufficiency.
Cooking oils, fats, butter, and butter substitutes are often overlooked. Do you know how to dehydrate butter?
You might be asking yourself, “Can you dehydrate butter?”
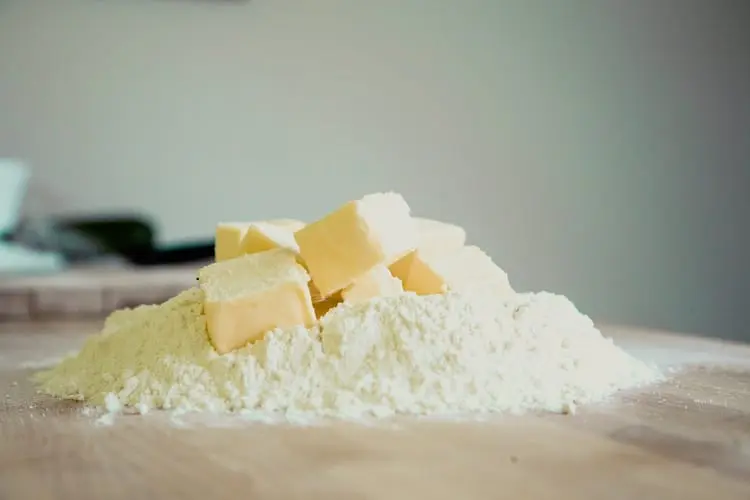
It’s actually not as hard as you might think. Like most things in preparedness, there is an information gap, and then there is an experience gap.
After bridging those, you will know how to dehydrate butter and even create your own butter powder.
It’s not uncommon to store a number of dehydrated items. Dehydrated peanut butter is a great food to keep on hand for the long term.
Another essential is dehydrated buttermilk. Add to that some dehydrated butter and flour for homemade biscuits, even in the worst-case scenario!
So, can you dehydrate butter? Of course, and we are going to teach you just how to dehydrate butter in just a few simple steps. We are also going to look at a variety of butter substitutes.
How to Make Homemade Butter
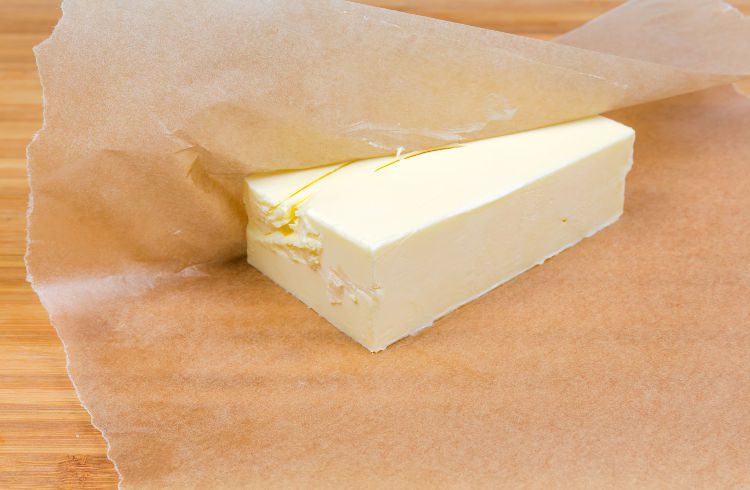
While this might seem intimidating, don’t forget that the pilgrims knew how to make butter!
It’s basically the process of separating cream through agitation or mixing. This can be done in many ways, and we are going to focus on three methods in this section.
If you want to know how to dehydrate butter, you should know how to make butter from scratch.
Make Homemade Butter by Hand
You will need a whisk for this method and you will need some endurance in the forearms.
- The first step is to get yourself a nice big bowl and put it in the fridge. The colder the cream, the better it will hold air and then separate.
- Next, fill your bowl with about 1 cup of heavy whipping cream.
- Begin whisking.
- The cream will get thick quickly, but keep whisking.
- You want to whisk the cream until it gets airy and forms what are called hard peaks. These are peaks that hold their shape when you remove the whisk.
- At this point, you have whipped cream.
- If you whisk a little longer, your whipped cream will start to separate, and you will see a liquid at the bottom of the bowl. Keep whipping for another 2 minutes or so and the whole bowl will be separated. Some cream will be floating and butterfat will be separated.
- Strain this through some cheesecloth and roll what remains into a nice tube inside your cheesecloth. You can also wrap this with plastic wrap.
- Let it chill and you will have butter!
Make Homemade Butter Using a Kitchenaid
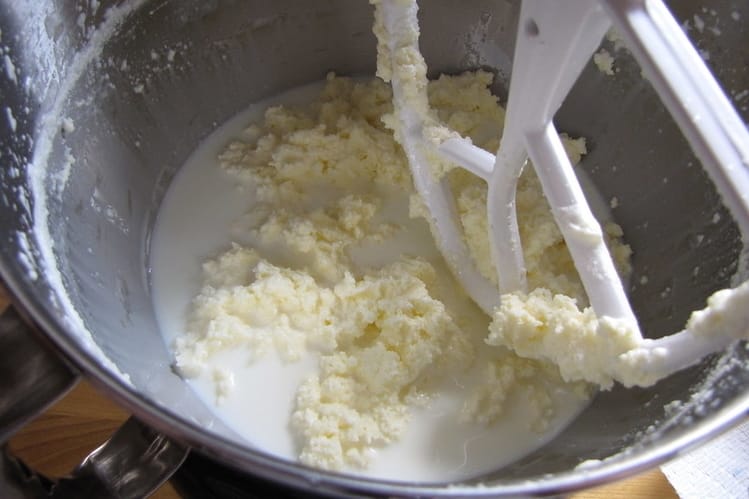
- Repeat step one from above but use your Kitchenaid mixing bowl.
- You can use more cream with your Kitchenaid because it won’t get tired like your arms!
- Turn the machine on high and let that thing whisk its little heart out.
- Look for the same process to take place as above.
- When your cream separates, repeat steps 8 and 9.
Make Homemade Butter with a Marble
This sounds a bit crazy but it really works and is a great way to get kids involved in the process.
- Place a quart or pint mason jar in the fridge.
- Fill it 1/3 of the way with the heavy cream.
- Drop a marble into the jar and screw on the lid.
- Shake slowly at first, then increase your shaking as the time goes on and the whipping cream expands in volume.
- Pass this jar around and let others do the shaking.
- Once the mix separates, repeat steps 8 and 9.
Butter Substitutes
There was a time when butter was attributed to things like heart attack and strokes! Thankfully, science dug deeper and found that processed sugar is the root cause of most of these problems, along with other underlying factors.
Still, you might have a host of reasons why you cannot eat butter. When it comes to preparedness and food storage, your dairy intolerance will not go away just because the world around you has collapsed.
So you need options. What can be used instead of butter?
The question is: ‘What can be used as a butter substitute?’ Has everything to do with use. What are you trying to do with that butter substitute?
There are three main uses for butter. Ultimately, what you can substitute butter for depends on the desired use.
Spreading
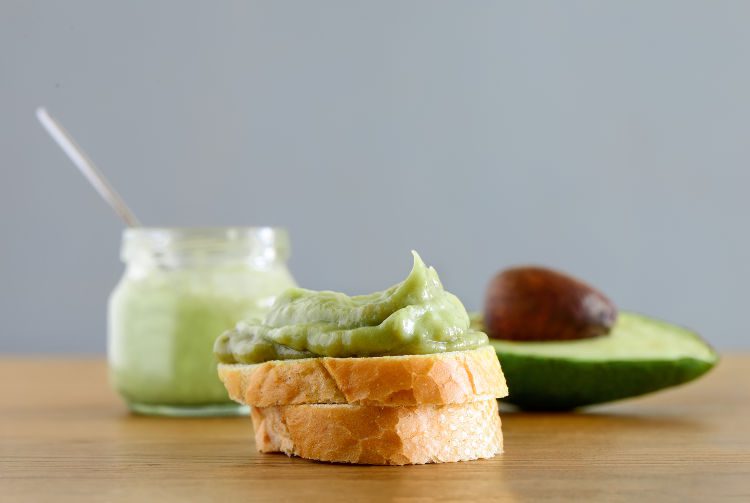
Here we will look at what can be used to substitute butter as a spread.
Avocado: Simply mashed or pureed avocado is a tremendous spread and is even more nutritious than butter itself.
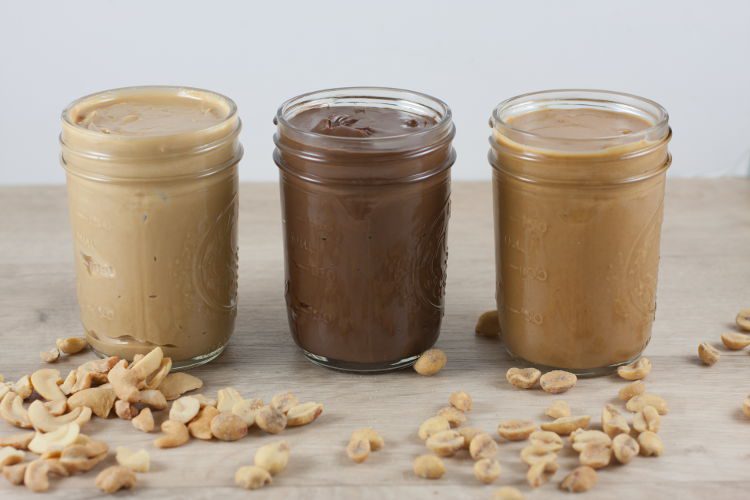
Nut Butters: Nut butters are full of healthy fats; just be careful of allergies.
Almond Butter: Almonds are special not just for nutrition but because you can grow almonds in your yard! Almond trees can be very successful.
Peanut Butter: This is an old staple for spreading on bread and bagels.
Adding Richness
Some food preparations require butter’s natural richness and you can achieve that with other substitutes in recipes.
Greek Yogurt: Maybe nothing adds richness quite like yogurt and it’s a fermented product, too! This means it presents you with some great probiotics along with other benefits.
Cocoa Butter: There are a variety of uses for cocoa butter but most are cosmetic. However, it can impart great nutrition and richness into recipes.
Applesauce: You can use applesauce as a butter substitute. An old trick of the low-fat movement is to eliminate oil from cake mix. So, if you find yourself asking, ‘ what can I substitute for butter,’ this might be just the answer you are looking for.
Cashew Butter: Nut butter is always going to add richness to your foods. Cashew butter is not going to melt but it can be stirred into soups and sauces to add body and richness.
Peanut Butter: Peanut butter is popular in Thai cuisine and adds a great richness to soups and sauces.
Melting and Cooking
Coconut Oil: You can make a great butter substitute with coconut oil. This rich oil is great to melt and cook with. It is pretty mild in flavor but has great health benefits.
Shea Butter: Most people don’t realize it, but you can cook with shea butter.
A fantastic clarified butter option with a long shelf life is ghee, a staple of Indian cuisine that received significant French influence.
Olive Oil: A staple of Spain, Italy, and Greece, olive oil has tremendous health benefits and could be used in any of the applications described here. However, we will talk about cooking with it because it is used for that most often. It can be bought in large quantities and even canned to last for a long time.
Clarified Butter: When you heat up butter, the milk solids sink to the bottom of the pan and you can ladle out the clarified butter.
How to Dehydrate Butter
Now that you can make your own, let’s talk about how to dehydrate butter.
Butter is high in fat content and the process of dehydrating it is often done using centrifugal force to separate the moisture. This is how to make butter powder. You can find this product on the shelves of most emergency food storage companies.
The reality of dehydrated butter is that you are, most likely, not equipped to make butter powder and store it in mylar bags for 20–25 years. Don’t let this deter you, DIY dehydrated butter is still a great food storage option.
Dehydrated butter and freeze-dried butter are not going to dry out completely. That is the most important thing to understand about this. What you will be left with is a spreadable substance that is devoid of most of its moisture.
Dehydrating butter will remove moisture but it won’t remove fat. That high-fat content is what will keep it in a spreadable state. If you go the route of freeze-drying, you are going to get much better results.
However, there is a trick using the home freezer that can maximize your DIY dehydrated butter.
How to Dehydrate Butter Using a Home Dehydrator
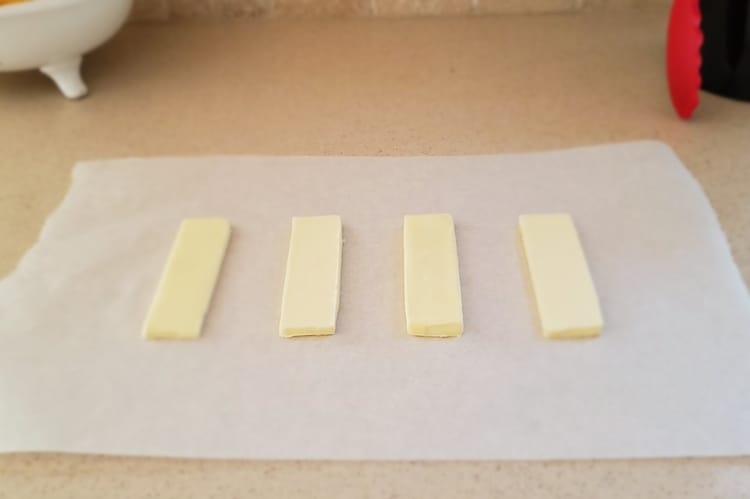
To begin you are going to cut your cold butter into long planks that are about 1/2 inch thin. This will allow the most surface area to be exposed while still keeping the butter intact.
Lay your planks out on a piece of parchment paper that will fit your dehydrator. Of course, you want to consider air circulation. That is the key element to dehydrating.
The next trick will help with our success during dehydration.
Obviously, the key is going to be keeping the butter cold during the process. To give your butter an edge, take the butter-lined parchment and freeze it for about 24 hours. This will begin to dry the butter out in the freezer and get the temperature naturally very low.
Be sure you are not dehydrating butter on a hot day or in a hot place. The colder you can keep the area, the better you are going to be. If the butter melts before it dries out, you will just have a separated mess.
Dehydrate your butter overnight to get the most out of the process. If you can control the temperature, you will have much better results.
When you first check the butter, do not be afraid to go another day. Place the butter back into the freezer for another 24 hours. The freezer will help dry the butter out. It will do so at the optimal temperature.
It might even be worth trying a week in the freezer to kick it off! This will help the dehydration process. Think of it as a low-level freeze dry.
Freeze-Drying Butter
If you are one of the lucky people who owns a freeze drier you could use it for the same process. You will prep your butter in the same way and freeze dry it until it’s completely freeze-dried.
Freeze dryers do a tremendous job of dehydrating butter and drying many different types of dairy. Of course, not all of us have this option.
How to Store Butter for the Long Term
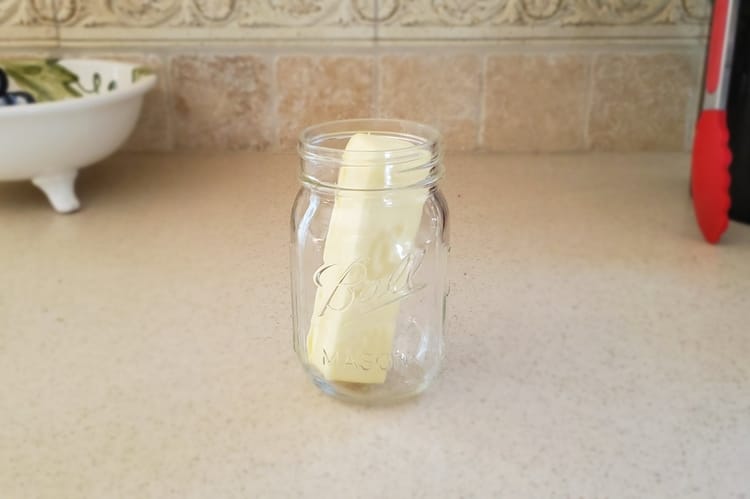
Knowing how to dehydrate butter is going to keep it around longer than normal. However, you are also going to want to have some other ways to store butter for the long term
Because the process of dehydrating butter is so labor-intensive, canning butter is probably the best way to store it for the long term. That doesn’t mean that you cannot use your dehydrated butter or freeze-dried butter to store long-term.
If you get a nice, thorough dry on your butter, you could store your dehydrated butter in mylar bags with oxygen absorbers.
It might make sense to store them in the freezer, too! However, the goal is going to be for you to be able to store it in dry storage.
This would include the mylar bags and the O2 absorbers for the longest-term storage. Simply dehydrating butter may not get you here.
Some management in the freezer and dehydrating might work better. Freeze-drying butter will get you as dry as you need it to be.
What you have to remember about butter is that its primary fat can go rancid. This is another concern when you store butter for the long-term.
Clarified butter or canned butter is always going to be your best option for long-term food storage unless you have a means of freeze-drying that butter. You should still know how to dehydrate butter because there is plenty of utility in that process.
How Long Does Dehydrated Butter Last
Mechanically separated butter powder is the butter product that is going to last 25–30 years.
We talked about the centrifugal force process involved in that. When a product like butter is processed this much, it does cause you to wonder, What’s the point?
If you want to dehydrate your butter and store it for the long term, you are likely going to need to use it within 5 years.
Even if you get a great dryness on the butter and it’s not a soft, oily consistency, you should plan to use it before that time.
I have opened up poorly stored food before and found the disgusting, rotting mess that is left behind.
Dehydrated butter would be no different if the fats were to go rancid. So, eat your dehydrated butter on a regular basis and cycle through your inventory.
Conclusion
I hope we answered your query on how to dehydrate butter. The process is possible and it’s something you can plan on adding to your prepper pantry.
There are also many butter substitutes to consider. You might be interested in dehydrated almond butter or dehydrated butter powder. Dehydrating peanut butter is another interesting DIY food storage task.
Food storage and food preparation go hand in hand. We are cursed with the mindset of buying our way into food security and preparedness. Taking on projects like this is a reminder of what’s at the core of all preppers: self-reliance and independence.
Don’t shy away from dehydrating butter or any dairy for that matter. Technology is always improving and it won’t be long before we are all making our own long-term food storage.
Until then, you should keep putting up food and preps. Try new things, too!
